 (Image via
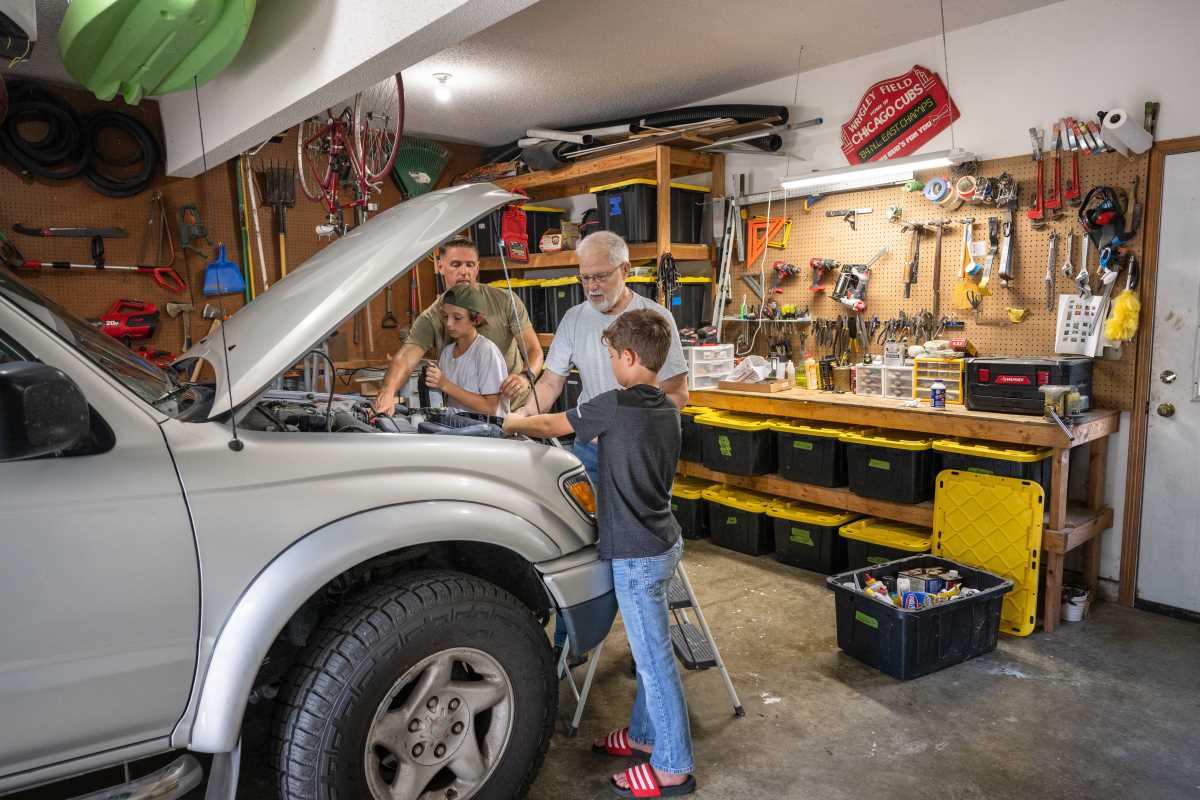
Taking care of your car doesn’t always mean a visit to the mechanic. Many basic maintenance tasks can be done at home, saving you time and money while keeping your vehicle in top shape. With the right tools and knowledge, you can handle simple upkeep like oil changes, tire pressure checks, and more. This guide provides an FAQ format to introduce you to the essentials of DIY car maintenance.
Why is DIY Maintenance Worth Learning?
Learning to maintain your car at home has several benefits:
- Cost savings: You save money by avoiding unnecessary service center charges for straightforward tasks.
- Convenience: Perform maintenance on your schedule without relying on an appointment.
- Knowledge: Understanding your car empowers you to spot issues early and make more informed decisions about repairs.
- Longer vehicle lifespan: Regular care ensures your car runs smoothly for years to come.
DIY maintenance isn’t about replacing a mechanic. It’s about performing simple tasks safely and effectively for day-to-day upkeep.
What Tools Do You Need for DIY Maintenance?
Before starting, it’s helpful to have a basic set of tools and materials for car care:
- Socket wrench set
- Screwdrivers: Both Phillips and flathead
- Oil filter wrench
- Jack and jack stands: For accessing your car's undercarriage
- Tire pressure gauge
- Funnel
- Gloves and safety goggles
- Drip pan
- Shop towels or rags
- Car-specific fluids: Engine oil, coolant, brake fluid, etc.
Having these items on hand can cover most basic tasks while ensuring safety and efficiency.
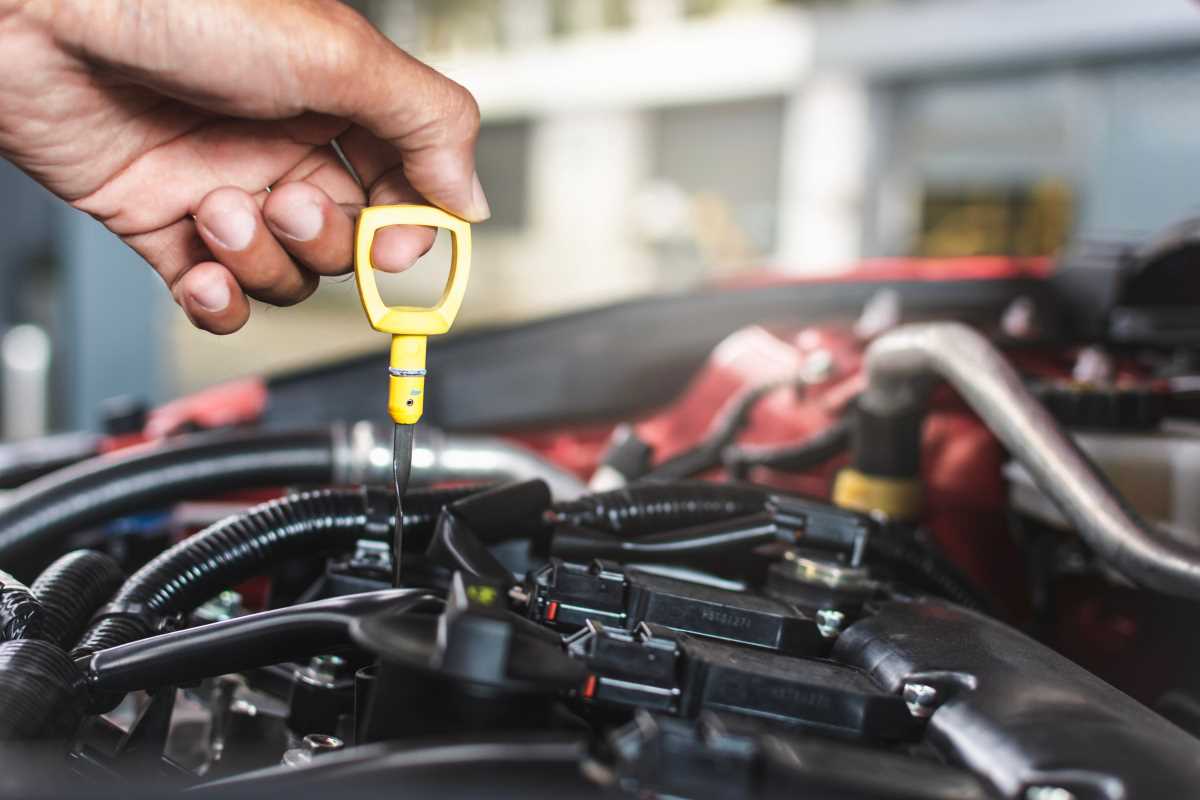
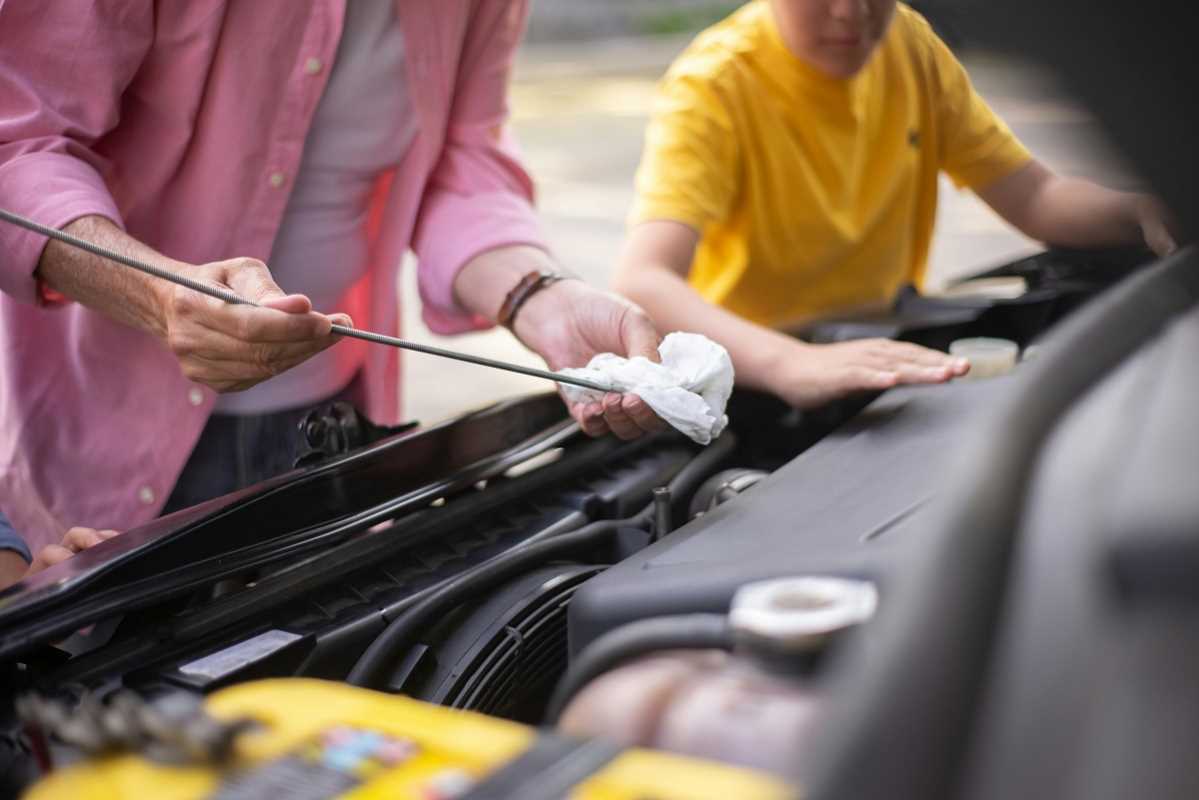
How Do You Perform an Oil Change?
Changing your car’s oil is one of the most common DIY tasks and helps keep the engine running smoothly.
Steps to Change Oil:
- Gather supplies: You’ll need new oil, an oil filter, a funnel, an oil filter wrench, a socket wrench, a drip pan, and gloves.
- Drain old oil: Raise your car using a jack and stands. Locate the drain plug under the engine, place the drip pan beneath, and unscrew the plug. Allow the oil to drain completely.
- Replace the oil filter: Use the oil filter wrench to remove the old filter. Before installing the new one, apply a small amount of fresh oil to the rubber gasket for a good seal.
- Add new oil: After replacing the drain plug, use a funnel to pour in the recommended type and amount of oil. Check the dipstick to verify levels.
- Dispose of used oil: Take the old oil and filter to a recycling center.
Pro Tip: Always check your owner’s manual for the correct oil type and quantity for your car.
Time-saving Reminder: Perform your oil filter replacement during your oil change for convenience.
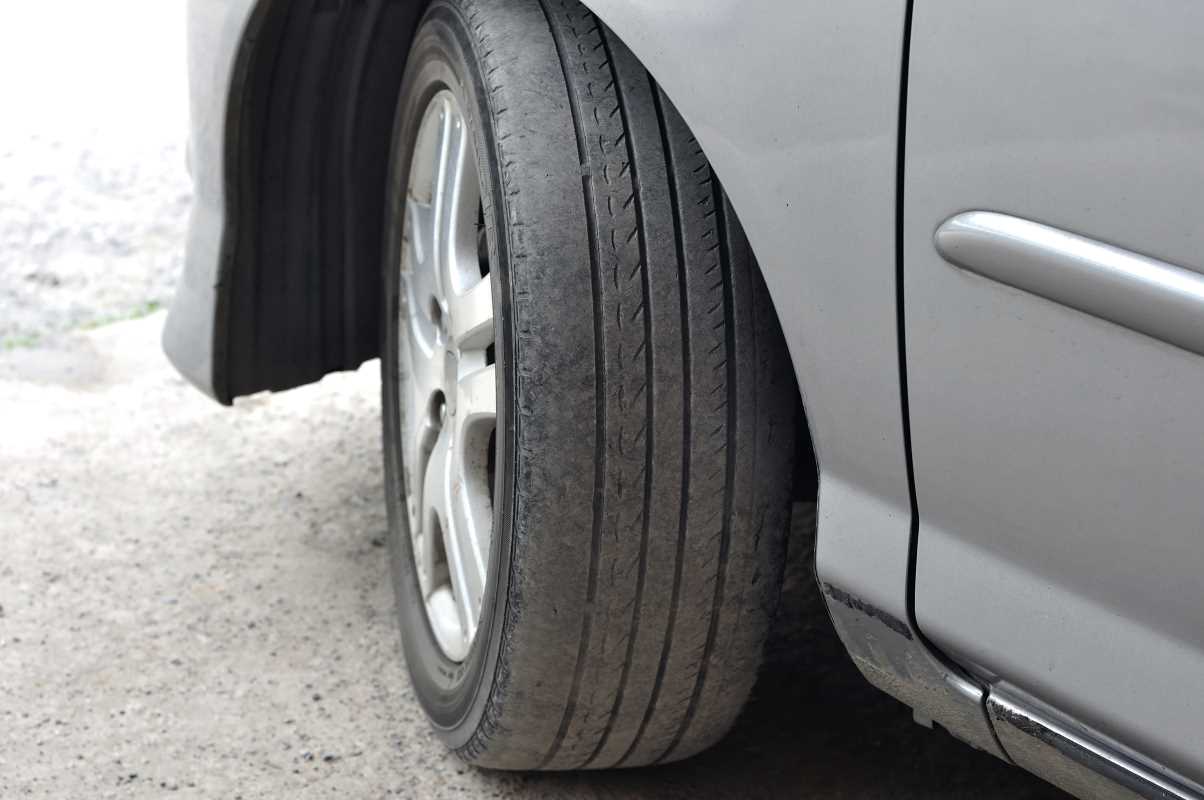
How Do You Check and Maintain Tire Pressure?
Proper tire pressure improves fuel efficiency, extends tire life, and enhances safety.
Steps:
- Find the recommended pressure: Check your owner’s manual or the sticker inside the driver’s door for the correct PSI.
- Measure pressure: Use a tire pressure gauge on the valve stem. Note if the reading is within the recommended range.
- Adjust as needed: Add air with a compressor if the pressure is too low. Release some air by pressing the valve if it’s too high.
- Repeat: Check all four tires and the spare.
Tip: Tires lose about 1 PSI per month and more during cold weather, so make this a monthly habit.
Safety Reminder: Driving with underinflated tires can lead to blowouts, especially on long trips.
How Do You Replace an Air Filter?
A clean air filter ensures your engine receives the proper air intake for optimal performance and fuel efficiency.
Steps to Replace the Air Filter:
- Locate the air filter housing: Usually a plastic or metal box near the engine marked by screws or clips.
- Remove the old filter: Open the housing, note the orientation of the old filter, and take it out.
- Insert the new filter: Place it in the same direction as the old one.
- Secure the housing: Close it and tighten screws or clips.
When to Replace: Most air filters last 12,000–15,000 miles, but check your manual for specifics.
Tip: Driving in dusty environments may require more frequent replacements.
How Can You Care for Your Car Battery?
Your car battery powers your vehicle’s electronics and is critical for starting the engine. Proper maintenance extends its lifespan.
Steps for Battery Care:
- Check terminals: Inspect for corrosion (a white, powdery substance) on the posts and cables.
- Clean connections: Use a mixture of baking soda and water with an old toothbrush to clean off corrosion. Rinse with water and dry.
- Check voltage: Use a multimeter to test the battery. A healthy battery should read around 12.6 volts when the engine is off.
When to Replace: Most batteries last 3–5 years. Be proactive and replace yours on schedule.
Tip: Securely fasten battery connections to avoid vibration damage.
How Do You Top Off Fluids?
Keeping vital fluids at appropriate levels ensures your car’s systems operate seamlessly.
Essential Fluids to Check:
- Coolant: Locate the coolant reservoir. Ensure the level is between “min” and “max.”
- Brake fluid: The reservoir is often clear. Make sure it’s near the maximum line, but never overfill.
- Power steering fluid: Use the dipstick attached to the reservoir cap to check levels. Add fluid if it’s below the minimum mark.
- Windshield washer fluid: Fill the reservoir to keep your windshield clean on the go.
Safety Reminder: Always check fluids when the engine is cool to avoid burns.
Pro Tip: Use fluids specified in your owner’s manual to maintain system compatibility.
When Should You Replace Windshield Wipers?
Effective wipers are key for clear visibility during rain and bad weather.
Steps for Wiper Replacement:
- Lift the wiper arms away from the windshield.
- Press the tab or button on the wiper blade to release it.
- Attach the new wiper blade, ensuring it clicks securely into place.
- Lower the wiper arm gently to avoid damaging the windshield.
When to Replace: Swap blades every 6–12 months, or sooner if they streak or squeak.
Tip: Consider keeping a spare set in your car for emergencies.
What Are Some Essential Safety Tips for DIY Maintenance?
While DIY tasks are rewarding, it’s important to stay safe:
- Use proper equipment: Always work with quality tools and safety gear like gloves and safety goggles.
- Secure the car: Use jack stands, not just the jack, when working underneath.
- Work in a ventilated area: If starting the engine, ensure there’s proper ventilation to avoid carbon monoxide buildup.
- Follow your manual: Car manuals provide tailored specifications to prevent maintenance errors.
- Avoid overconfidence: For tasks involving advanced systems like brakes or timing belts, consult a professional.
Remember: When in doubt, prioritize safety and seek expert advice.
How Do You Know When to Visit a Professional?
While DIY maintenance is effective for basic tasks, some situations warrant professional help:
- Complex repairs like transmission issues or engine work
- Persistent warning lights you can’t diagnose
- Brakes requiring rotor replacement or system bleeding
- Electrical issues beyond swapping a battery or bulb
Knowing your limits ensures the best care for your vehicle without risking your safety.